Table of Content
Follow some basic instructions and you will have wonderful concrete tile at home. Use the shovel to create a small reservoir in the middle of the dry mix. Use the larger bucket to add water to the mix, taking care to mix it in as you go. Keep adding water until all of the mixture is wet and the concrete is the consistency of cookie dough.

Also, clay tiles are pretty easy to make at home, you just get a template and replicate that, they harden in the sun. So, forget about the concrete and go with clay. Once the mix is ready, use a tile screed to cut the mixture into the desired tile shape. Place each tile onto a level surface and use a rubber trowel to smooth the surface. Allow the tiles to dry, then cut them to the desired size using a tile saw. Finally, apply a sealant to protect the tiles from weathering.
Different Types of Pitched Roof
Each piece was acid stained and sealed. Acid stains are a good color choice for exterior projects since they do not fade from direct sunlight. Acid stains come in earth tone colors producing a natural marbleized look. Perfect for this type of project. Place a loop of sticky tape, such as packing tape, on the back of the tile to create a handle. Press the sample tile into the sand, face down, deep enough to get a complete impression of the tile's top and sides.
You can create your own custom blends or choose from premixed concrete floor paint. This is a great option for those who want to personalize their space and make it truly unique. You need a special machine for this. It's nothing fancy and perhaps if you're near a large hardware store, you can hire one out, but otherwise you will struggle to make concrete tiles. Also, note that concrete can be a dangerous material to work with, so do wear protective materials. Also, the mix should be carefully prepared, do pay attention to expert information.
Step by Step: How to Install a Staircase...
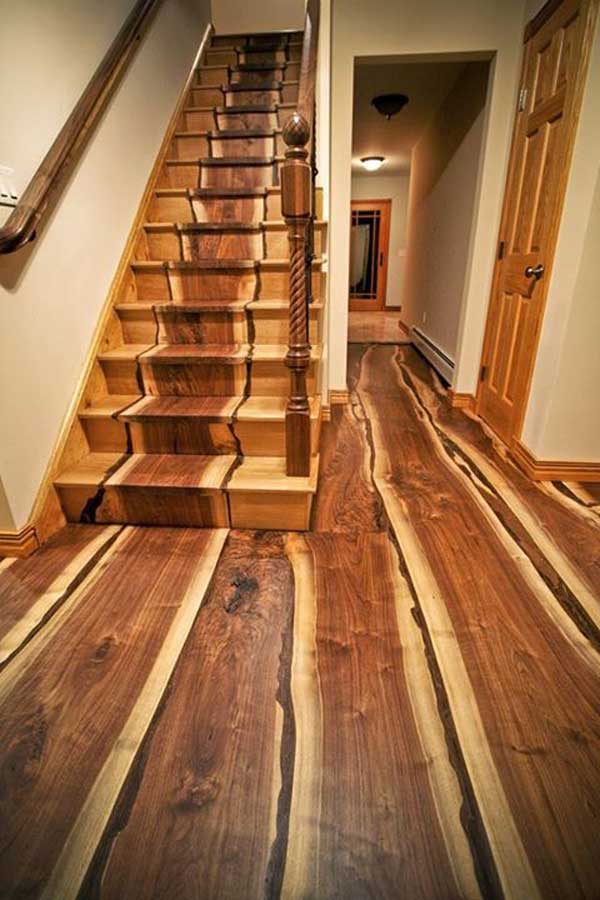
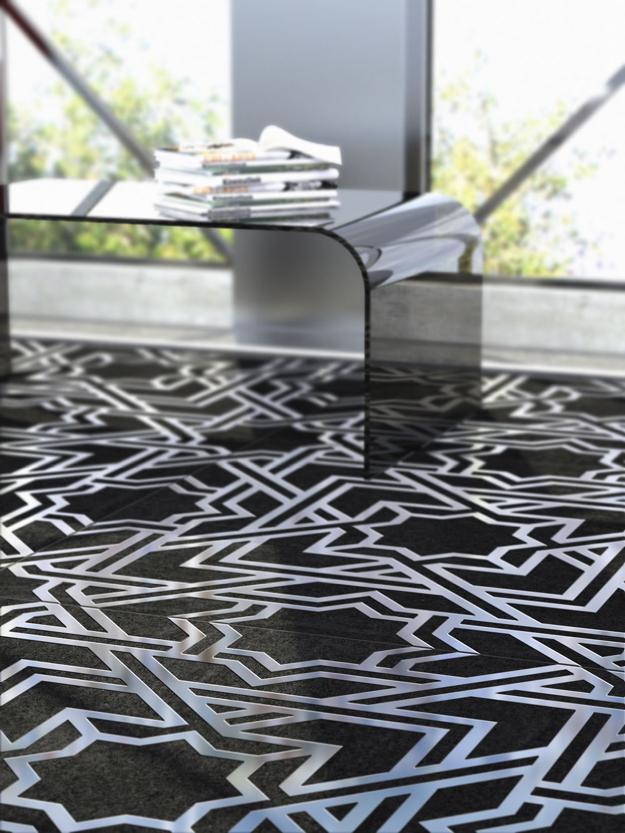
Photos 4 – These custom concrete floors were made with our Skraffino concrete overlay. This is one of our most popular overlays producing a sandstone finish. It’s also one of our easier products to use. The sandstone texture allows for stains and dyes to settle naturally.
Opt to cut sheets of “Ditra” membrane to fit the area you are tiling. You will need to apply thinset to the concrete and smooth the membrane sheets down with a trowel. There are 3 basic ways to make concrete tile. You can make molds and pour concrete into your desired size and shape. It can be integrally colored and topically stained and sealed.
How to make roof tiles from concrete
You can use them on almost any type of concrete surface, including polished floors like those found in restaurants. Staining is perfect for high-traffic areas that need an extra layer of protection from dirt. A polish and wax combo is a good way to get an extremely bright shine.

This finish works best on bare concrete floors without any sealant. With the right concrete finishes, you can give your flooring an expensive look. Here’s what you need to know about concrete floor finishes and how to pick the right one for your home. 5 Set your first tile against the corner of the center line.
Premade tile molds designed for concrete, shallow baking pans or even sand may be used to create a form for the tiles. Concrete floor finishes are a great way to add style and personality to your home. There are many finishes available, so you have plenty of options when it comes time for your project. You can even mix finishes for a unique look.
Buff the surface of the tile with a dry cheesecloth. Let the grout continue to dry for 72 hours. 8 Move across the floor in a three foot by three foot area, working in one quarter of the room at a time. Take your time to ensure you have an even surface.
Photo 3 – This floor was created using Pentimento, another one of our concrete overlays. This one was integrally colored with light layers of dyes producing a natural earth tone. Saw cuts were used to create a custom tile pattern. Pentimento is a beautiful product with a polished look. For pre-made molds, mix the concrete per manufacturer specs with water and stir well. Once you have the right mixture, spray the insides of your molds with mold-release.
7 Place the ceramic tiles down in your three by three grid. If a tile is not level, you can “back-butter” it by placing an extra layer of thinset in a corner to make it level. After 28 days from start of manufacturing, the cement tile color surface will have obtained 98% of its hardness and is usually ready to be installed.


No comments:
Post a Comment